Support
Booking Appointments
When booking an appointment, you have a choice to use a Template or not to use a template. A template will prefill all the information about the appointment such as duration, appointment, title, description and location. If you find yourself booking similar appointments frequently, it can be a good idea to use templates. If you are creating an appointment without a template, then you will have to create all the things a template would pre-fill. This can be good if you are booking just a one-off type of appointment.
Appointment Colors
Appointment colors are used to help you differentiate between different appointment types on the Calendar page as well as on your Google Calendar
Choosing a Template
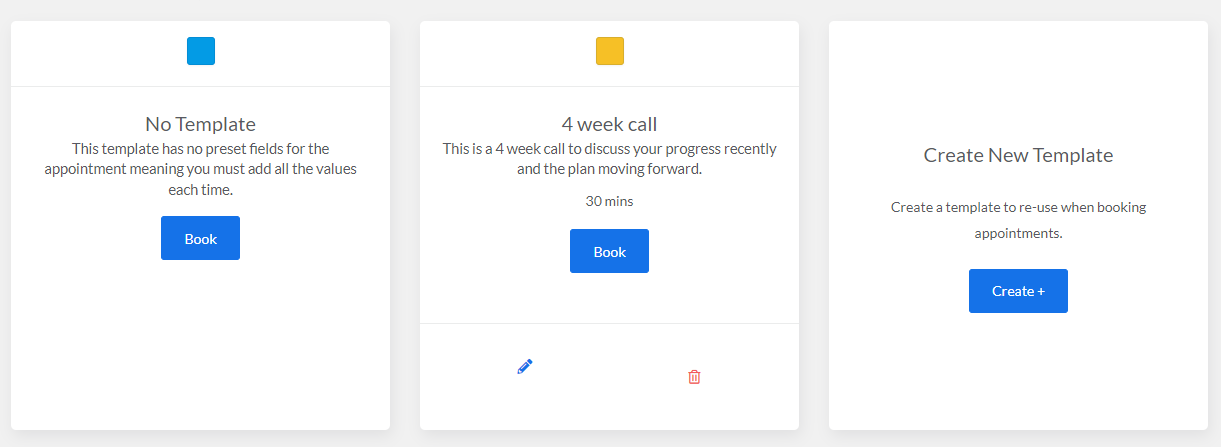
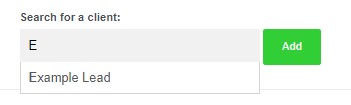
Please note if you are using a template, only clients who fit the right "Client Type" of your template will be recommended. When your client your searching for isn't coming up, double check you have the right status set for either the template or the client. If you aren't using a template, you will search through all clients and leads.
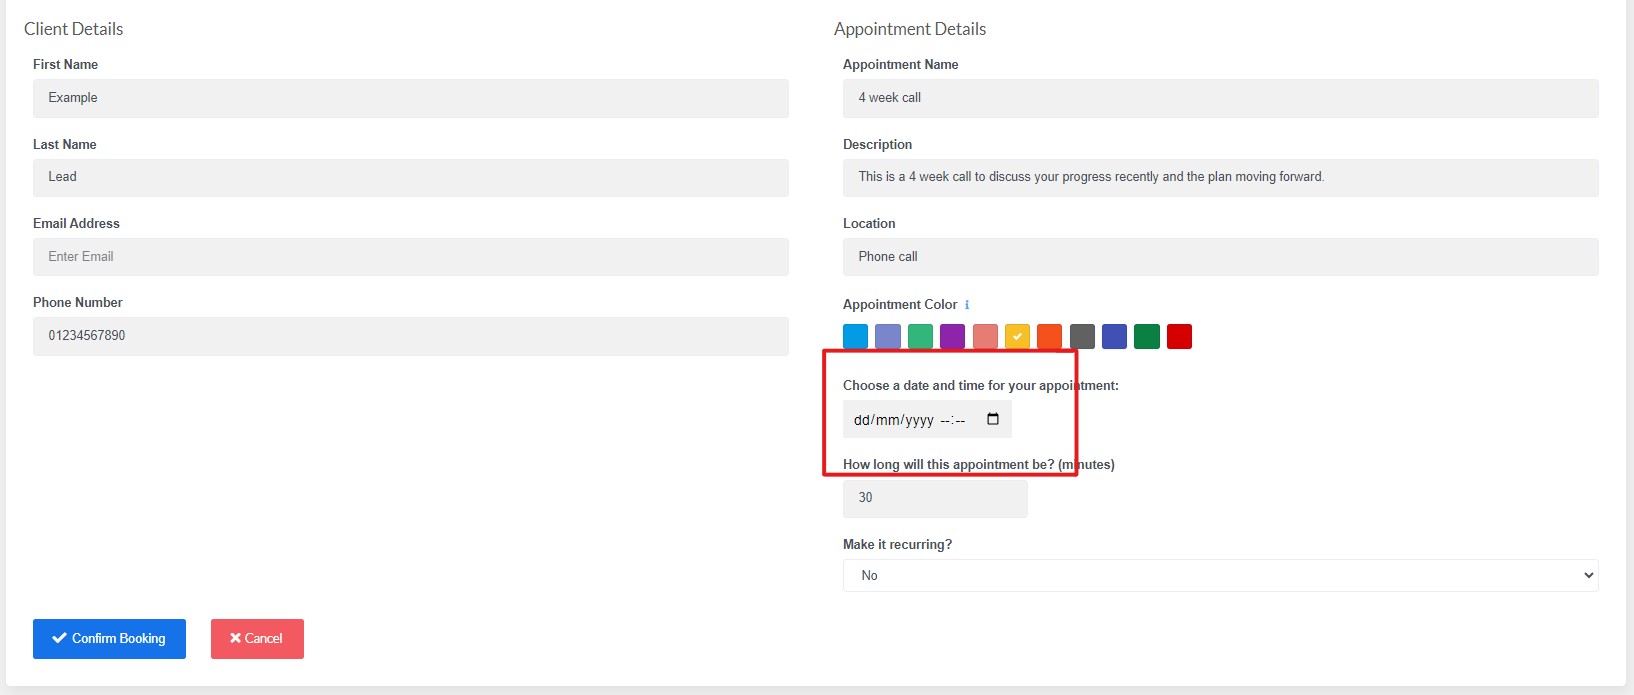
The date will always be missing, so you will need to fill that in. You can press the calendar button on the side of the input box to make it easier. If you are adding a lead with missing details like shown in the example, you will also need to fill those in. If you do not have these details, just put a placeholder in. If your template you used is recurring then this will be shown at the bottom of the Appointment Details. If the template used is not recurring, or you're not using a template, you can still add recurring settings to it.
Once you are happy with everything, just press "Confirm Booking", and it will be booked.