Support
Client Images
For the clients looking to improve body composition and use progress photos or if you keep screenshots of clients food diaries, it can all be stored under the images section of the client profile.
(We are currently looking into adding video storage alongside images, so you can save PB videos and technique videos)
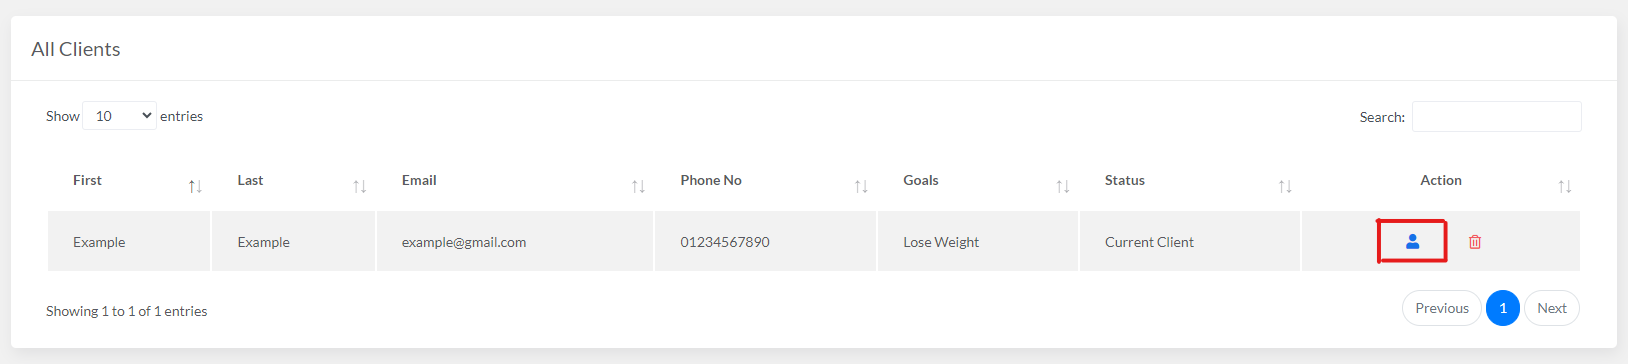
Accessing a Profile
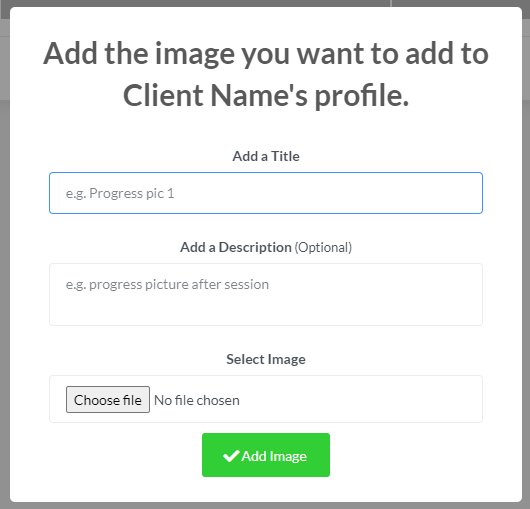
Adding The Image

To add your image, press the button which says "Chose File" and a new tab will pop up with all of your files. Just find the one you want and either double click it or click it once and press "Open" and it will add it. Once you have added all the information you want to the pop-up, press "Add Image" and it will then save the image. A date timestamp is also added the image as another way to help you find them later on or look back to certain dates.
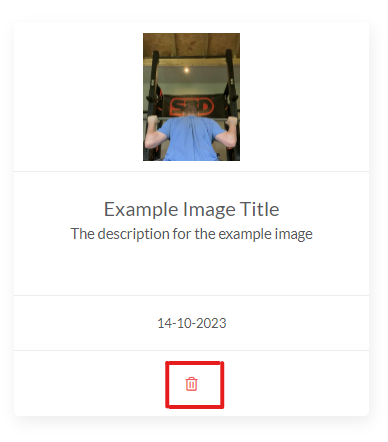
Viewing & Deleting
To enlarge the image to view it more clearly, you can click on it, and the image will fill the screen. There is a cross in the-top right corner to close it down or press somewhere off the edge of the image.